 https://simcloud.com/wp-content/uploads/2016/07/gmail-undo-send.jpg
350
610
SimCloud
https://simcloud.com/wp-content/uploads/2015/06/simcloud-logo.png
SimCloud2016-07-18 19:44:512016-07-18 19:46:53Google Tip: Undo Sending an Email in Gmail
https://simcloud.com/wp-content/uploads/2016/07/gmail-undo-send.jpg
350
610
SimCloud
https://simcloud.com/wp-content/uploads/2015/06/simcloud-logo.png
SimCloud2016-07-18 19:44:512016-07-18 19:46:53Google Tip: Undo Sending an Email in GmailWe all know the extra steps you have to take to take just to get a new font to appear in Microsoft Word or any other editor. After you get the font installed, you then have to worry about the other person being able to view the font because they don’t have it installed on their system as well. It can be a complicated experience.
With Google Docs, it is a completely different experience. There is no need to find the font on the Internet, download the font, and then install the font. Afterwards, you do not have to worry whether the font will be displayed correctly after the document is shared out.
Lets walk you through the process of adding new fonts to Google Docs
The Fonts selector menu is found between Style and Font Size

Just click that and you will be presented with the list of standard fonts for your account. If you want to add a font, go to the bottom of the list and click on More Fonts…

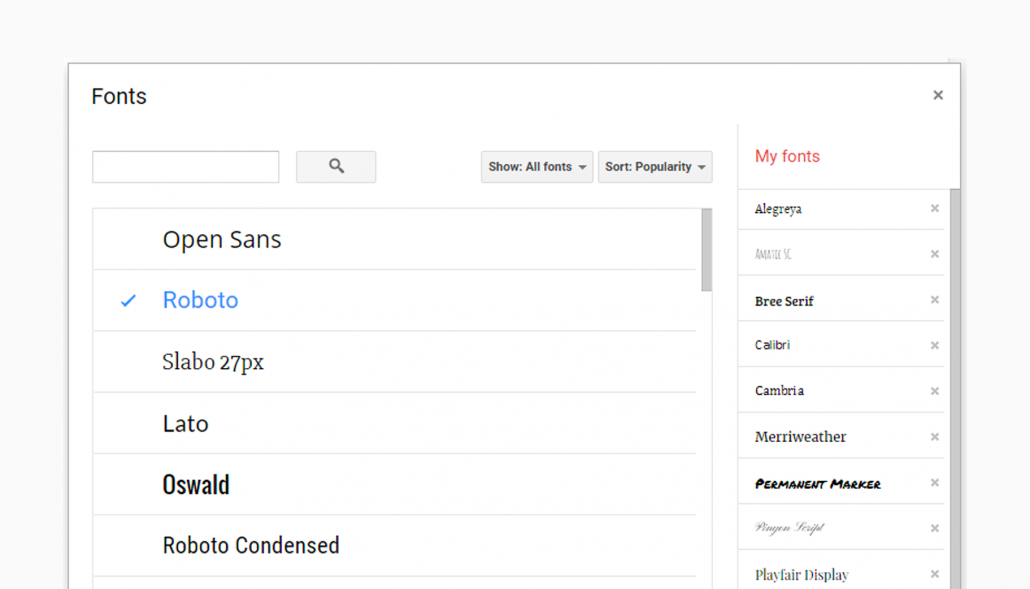
This opens a pop-up screen with a list of different fonts that can be added to your account. You can spend as much time as you would like searching for that perfect font!

You can use the filters or search to locate a desired font


When you have found the font you needed, click on the font name and it will be added to your list. Hit OK to continue working with the document

Stay tuned with SimCloud for more Google Apps Tips & Tricks!


